Friday, October 25, 2013

Apple Crumble Bars

Apple season is in ABUNDANCE this year. Holy cow. There was never a late frost this year. Enough rain in the spring and a dry hot Fall. All the trees around us are breaking from so many apples.

I really like this recipe. If you were using some green apples, you would probably need to add a bit more sugar. It was easy to put together, and people love it. I have included in treat bags, and made it for my family. You could serve this with ice cream for dessert at a party. Or just eat your piece of heaven with your fingers.


This is my magazine picture. AND the apples that I used

Apple Crumble Bars
Adapted from veryculinary.com

Ingredients
3 cups all purpose flour
3/4 cup packed brown sugar
1/4 cup granulated sugar
2 teaspoons cinnamon
1 egg
1 cup (2 sticks) cool butter
1/2 cup granulated sugar
2 teaspoons flour
6 medium apples, peeled, cored and small pieces or grated

Directions
Preheat oven to 350 degrees. Line a 9 x 13 pan with tin foil, spray with PAM, set aside

In a medium bowl, mix the flour, brown sugar, 1/4 cup of sugar, cinnamon. Work in the butter and egg with a pastry blender or your hands until pea size clumps form and virtually no loose flour remains. Press half of the mixture evenly into the prepared pan. Set other half aside.

In another bowl, stir together the 1/2 cup of sugar and the flour. Make sure your apples are not real juicy. Mix the apples with the sugar, flour mixture. Sprinkle the apple mixture evenly over the crust. Crumble the remaining dough over the tops of the apples.

Bake for 30-32 minutes or until the top is slightly golden. Cool completely before cutting into square.


Working with small lumps of butter and mixture


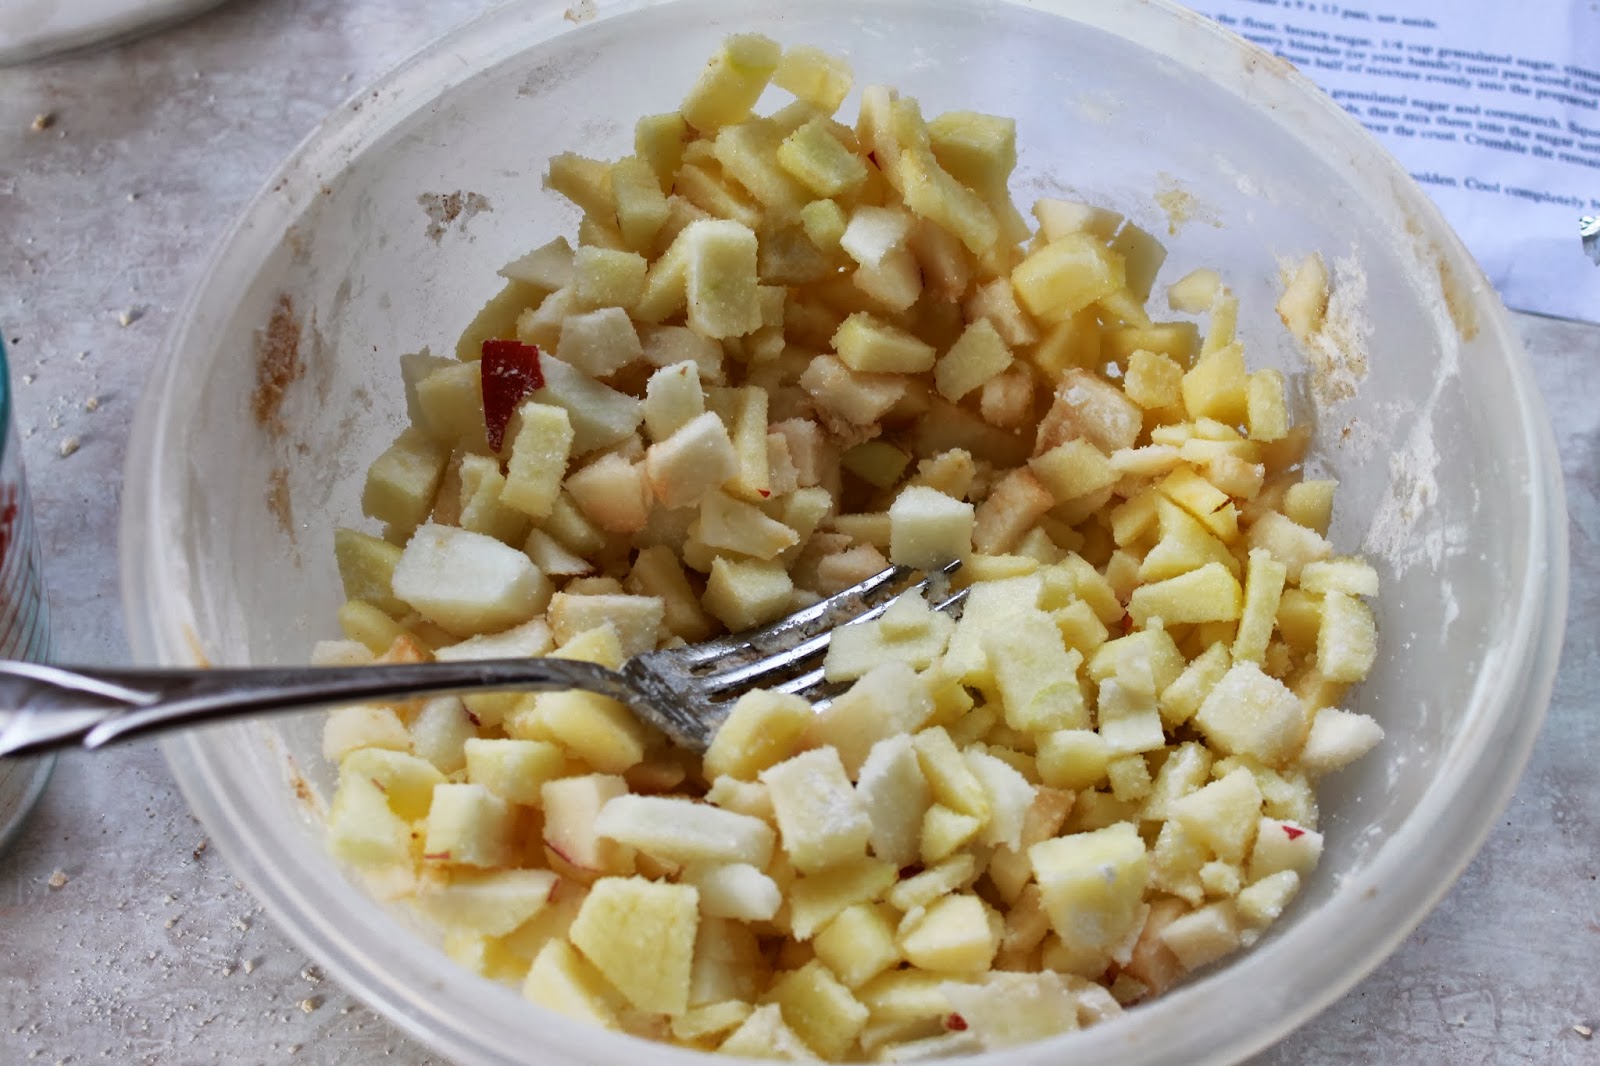
Apples coated with the sugar and flour


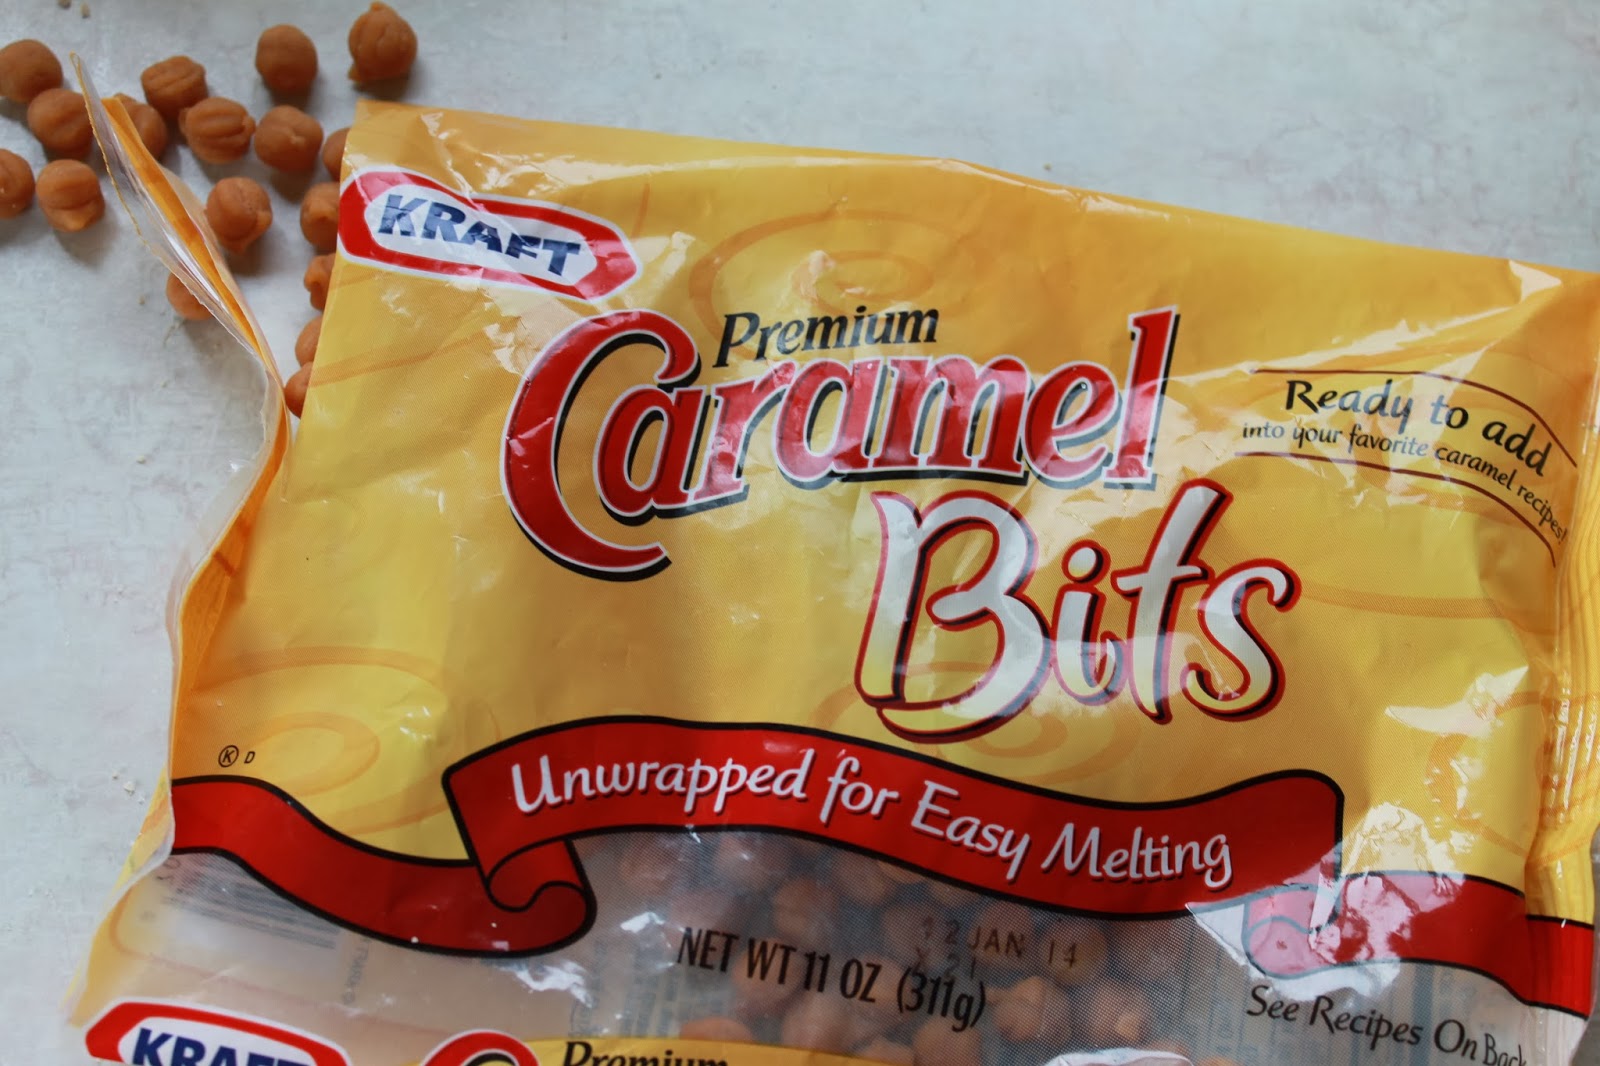
I love baking with Caramel bits. SO much easier than unwrapping caramels. 
Most bags can take care of two recipes. They are then not as expensive.


I love to use the tin foil. Once cooled. Pull out of pan and cut. SO MUCH easier.
And clean up is a breeze.


Apples, Caramel Chips melded together. Just like a caramel apple


Brought these to my sisters and Mom. They loved them.
Baked with LOVE.. A very good day.

Thursday, October 24, 2013

Halloween Wreath

I am not your Fall girl. I love my summer...  I know that I love to decorate for Fall. Next to Christmas, I have loads of Fall decorations. Our whole main floor and outside get the Fall and Halloween treatment. This is also why we have a Black Cat. He performs on Halloween for all of my Trick or Treaters.


Tried a different approach this year. A little more wild and carefree.

One day, I was in Michael's for the 1000th time, standing in their forever line, looking at their wreaths. I have always been able to do wreaths, just basic styling. I was not paying $45.00 for a Halloween wreath. NO way. So, I came home and down to the basement I went. Gathered some supplies and went from there. Spray paint from the garage and off to the back yard with a smile on my face.


I found this greenery garland that I had purchased at the end of the season for 80% off.


I had a 40% off coupon, that I used for the wire wreath base. It was $5.00.. and then a coupon. I did not even use any wire. Just folded the greenery around the base. EASY


And then on to my favorite part.... Spray Paint City. Over the years, I have painted SO many things. I really think I was a tagger in a former life. Once I was done painting, hung it in the garage to dry completely.


I purchased some Fall/Halloween Orange Ribbon.(with a coupon) I have seen this type of ribbon around for the last year or so. Wanted to try it, just did not take the time. I made these big loops, and wound it through the greenery and wreath. 


I wrapped another smaller black metallic ribbon around for different color and texture. I purchased some glittery Halloween picks. Inserted them and I was DONE.


MY FRONT DOOR
Steal my ideas. Do this for your house. Send me your pictures. I would love to see them.
Most of ALL... Make it yourself. Get those creative juices flowing.


This is our Monster from two years ago. PVC pipes, fabrics and a mask.
This was also a blast to make. 

Saturday, September 28, 2013

Pumpkin Chocolate Chip Cookies

Fall is here. And of course, in the Chicago land area, we are still holding on to late Summer. 80's again today and I am still sporting sandals to work. Maybe next Tuesday, October 1st, things will have to change. On Thursday, I went to a monthly biker party. They are ok, but I wanted to see a few friends I was missing. I brought this tray to the party. I really should have taken a picture at the end of night. Probably 3 cookies left on it. Gone, devoured, and greatly enjoyed by all, even some random strangers. That is the FUN of bike night.


beer, cookies and conversation...


Soft flavorful morsels of Fall flavors

I have been making this recipes for six years. I once had a neighbor lady that made these cookies. Things changed and we stopped being friends. She has since moved away. I am not a pumpkin fan, but these are very good cookies. The combination of flavors really enhance these cookies.

Pumpkin Chocolate Chip Cookies
adapted from former neighbor lady

Ingredients
1 cup butter, softened
1 1/2 cup granulated sugar
1 cup pumpkin puree
1 egg
1 teaspoon vanilla extract
2 3/4 cups flour
2 teaspoons cinnamon
1 teaspoon baking soda
1 teaspoon baking powder
1 cup mini chocolate chips

Directions
Pre-heat oven to 350 degrees. Line baking sheets with Silpats or parchment paper. set aside

In a large mixing bowl with a paddle attachment, place butter and sugar until light and creamy. about 5 minutes. Add in pumpkin and vanilla, and mix. Add in egg and mix. Add in all dry ingredients and mix in. Hand mix in the mini chocolate chips.

Scoop on a sheets and bake for 10-12 minutes. Once baked, let rest in pan for 5 minutes. Very soft cookie. Move to a cooling rack. When storing, place between wax paper.

 
nice amount of batter. Very soft, but the do  not spread


I had so many people that were HUGELY surprised with the Flavors
 

Wednesday, September 18, 2013

Oatmeal Raisin Cookies

I had a customer request 3 dozen of my Oatmeal Raisin Cookies. I had not made them in ages. In fact, I asked if he wanted chocolate chips or nuts in them. That sounded kind of good to me. (He said NO).


These cookies were delicious... I know I say that about lots of sweet food products. Heck, I am happy eating Nutella out of the jar.. These cookies were SO good. It is finally getting to be Fall after such a weird weather Summer. Last week, we were back in the 90's. Crazy. Oatmeal Raisin is one of my all time favorites. And not the puck like cookies either. Soft, moist and still a bit chewy. With loads of flavor.

This recipe was originally from Smitten Kitchen. They always do such a wonderful job. These cookies were easy to whip up. Made 40 cookies. Nice size batch. Could have been less if they were bigger. Whatever floats your boat. I always stay with my normal size cookie scoop. They are all the same, uniformity... OCD....

Oatmeal Raisin Cookies
adapted from thetastybiteblog.com

Ingredients
1 cup (2 sticks) butter, softened
1 1/3 cup of brown sugar
2 eggs, room temperature
1 teaspoon vanilla extract
1 1/3 cup of all purpose flour
1 teaspoon baking soda
1 teaspoon cinnamon
1/2 teaspoon salt
3 cups old fashioned oatmeal
1 1/2 cups of raisins
Optional: 1 cup mini chocolate chips and/or 1 cup chopped walnuts

Directions
Preheat oven to 350 degrees. Line a baking sheet with Silpats or parchment paper.

In a separate bowl, whisk together flour, baking soda, cinnamon, and salt. Set aside

In a mixing bowl with a paddle attachment, cream together butter and brown sugar for 5 minutes. Add one egg at a time mixing after each one. Add in vanilla extract and mix. Add the flour mixture to the wet mixture and combine. Fold in Oatmeal and raisins until they are incorporated into the dough.

Using a cookie scoop, place dough on baking sheets about two inches apart. Bake for 9-11 minutes or until edges start to brown.

Allow the cookies to cool for 10 minutes in pan and then transfer to a wire rack to cool completely.


Nice firm batter. Easy to scoop. 


Perfect formed balls... Morsels of Heaven


Sitting on a platter, ready to be eaten


There is the right amount of raisins for every bit.


Thursday, September 12, 2013

Blueberry Streusel Bars

Do you ever come across a recipe you have not made in forever, and go Holy cow. I need to make this recipe. I have had this recipe since 2008. My Florida sister gave it to me years ago. It came out of the June July 2008 Fine Cooking. And like all their recipes, they are fabulous. I have made these bars a handful of times. These should be made more often.  They are always a hit and taste fantastic.


They are super moist and just melt in your mouth. 


Blueberries are a super fruit. Loaded with tons of anti-oxidants and other goodness

These bars have a few steps. It is not difficult, they actually come together somewhat quickly. if followed, perfection will come your way. People will rave about these bars.

Blueberry Streusel Bars
followed by Finecooking.com

Ingredients
1 cup (2 sticks) butter, softened
3 cups all purpose flour
1 1/2 cups of old fashioned oats
1 1/3 cups packed light brown sugar
1 teaspoon salt
1 teaspoon baking powder
1 large egg - separated
1 14 oz can sweetened condensed milk
1/2 cup fresh lemon juice
2 teaspoons grated lemon zest
3 cups blueberries

Preheat oven to 350 degrees. Line a 9x13 inch metal baking pan with foil. Either lightly butter or spray foil and sides.

In a large bowl of mixer, combine the flour, oats, sugar, salt, and baking powder. Add in butter and start on low. Blend in completely. Transfer out 2 cups of the crumb mixture to another bowl and set aside. To the remaining mixture, blend in the egg white and then press into the pan to form a level crust. Bake for 10-12 minutes.


Meanwhile in another bowl, whisk the sweetened condensed milk, lemon juice, lemon zest and egg yolk. Let this mixture stand for 5 minutes. It will begin to thicken.


Sprinkle the blueberries evenly over the hot crust and then drop spoonfuls of the lemon mixture over the blueberries. Spread gently with a spatula to distribute more evenly. Do not crush the berries. Bake until the lemon mixture begins to form a shiny skin. 7 to 8 minutes.


Sprinkle the reserved crumb mixture over the lemon blueberry layer. Pressing gently with your fingers into small lumps. Bake until the filling is bubbling at the edges and the topping is brown. 25 - 30 minutes.


Let the bars cool in the pan on a rack for about an hour. Carefully lift them out of the pan using the foil. Transfer to a wire rack to cool completely. Remove foil and cut.
The bars may be stored for a few hours at room temperature, but otherwise should be refrigerated.


Foil just peels away. EASY clean up.

 These bars cut SO nice. They were perfect on a mixed tray. 
My Husband thought they were absolutely fabulous.

Thursday, August 22, 2013

Hot Chocolate Cookies

Chocolate and Cinnamon mixed in a cookie. And they are crinkly. Chewy on the outside and so soft and flavorful on the inside. Just like a chocolate heaven in a cookie. I really like loads of different cookies. And I thought I liked Banana Bread. We have had the coolest summer in like FOREVER. I am still wearing sandals all the time, but my feet are always cold. Air conditioning has been off for a while. It is very dry here, the grass is not a pretty green color. My Husband watered yesterday, but not in overkill. This is like the third or fourth time all summer he has watered. And really, my grass really only looks horrible to me. (slight exagerration.)

Since Sweets by Shayla is cruising along, I seem to make the same cookies all the time. That is why I found this recipe. My sisters were my testers, one loved it and the other thought it was "just OK".


These are just one of the coolest looking cookies. Very dimensional. Knooks and Crannies of flavor..
This cookie also falls into a NO Dairy and NO Egg.  Vegan with Gluten.

This is not a huge batch of cookies. Makes between 24-28, depending on the size.

Hot Chocolate Cookies
adapted from desertculinary.blogspot.com

Ingredients
1 2/3 cup all purpose flour
1/2 cup cocoa
1 teaspoon baking soda
1/2 teaspoon cinnamon
1/2 teaspoon salt
1/2 cup canola oil
1 cup granulated sugar
1/4 cup pure maple syrup
3 tablespoons soy or almond milk. (or regular milk -- no longer vegan)
2 teaspoon chocolate extract

FOR THE SUGAR COATING
1/3 cup granulated sugar
1 teaspoon cinnamon

Directions
Preheat oven to 350 degrees. Line baking sheet with Silpat. Set aside

In a large bowl, whisk together flour, cocoa, baking soda, cinnamon and salt.

In a large bowl, with a paddle attachment, add oil, sugar, maple syrup, milk and chocolate extract. Add dry ingredients to wet and mix until just incorporated.

FOR THE SUGAR COATING
In a small bowl mix the cinnamon and sugar together.

Using a cookie scoop, scoop out portions and drop into sugar coating. Roll around and place on cookie sheet. Space out 2 inches apart. Place in oven and bake for 8-10 minutes. When done, remove from oven and let rest for 5 minutes, and then transfer to wire rack for further cooling.


small batch of intoxicating flavor


plunked in the cinnamon sugar of love


These cookies would also make GREAT Ice Cream Sandwiches. 
Just a thought for another day.

Wednesday, August 7, 2013

Almond Butter Delights

Almond Butter. OMG it is SO good. Screw peanut butter, I have SO moved on. Between, Nutella, Biscoff, Cashew butter and now Almond butter. Peanut butter is not happening. Almond butter is available in most grocery stores. It is more expensive than Peanut butter, but less expensive than Cashew butter.

I could have just eaten this out of the jar. Would of it been wrong. I did buy it. Well, it is going into the cookies. And let me tell you, these cookies are just amazing. My Mom suggested Almond Extract. Sometimes, almond cookies have needed extract, DO NOT put it in these. You will ruin the smooth nutty taste. They were quick to make, and baked in nothing flat. I love new cookies. I really cannot imagine just eating the same old, same old my whole life. BORING.

Almond Butter Delights
Adapted by ME

Ingredients
1/2 cup butter (1 stick) at room temperature
1 cup white sugar
1/2 cup almond butter
1 large egg
1 1/2 teaspoons vanilla extract
1 1/2 cups all purpose flour
1/2 teaspoon baking powder
1/2 teaspoon baking soda
1/2 teaspoon salt
1 cup crushed slivered almonds

Directions
Preheat oven to 350 degrees. Line a baking sheet with a Silpat or parchment paper. Set aside.

In a large bowl with a paddle attachment, cream together the butter and sugar until light and fluffy. 2 or 3 minutes. Add in almond butter and continue to mix. Add in egg and vanilla until just incorporated.

While you are creaming the butter and sugar together, in a separate bowl, whisk together flour, baking soda, baking powder and salt.

Once the wet ingredients are incorporated, begin slowly adding in the dry ingredients. Mix until just blended, no pockets of flour. Gently stir in by hand the crushed slivered almonds.

Using a cookie scoop, place dough on Silpats about two inches apart. Smash cookies down with a wet cup or wet bottom of glass.

Bake for 9-11 minutes, until edges start to get slightly brown. Transfer to wire rack and let cool completely.

Makes about 3 1/2 dozen


This is a perfect batch. When you do not need a ton of cookies


I have only tried this brand of Almond Butter. If you have a better brand, let me know


Perfect for display. They are crispy, but melt in your mouth with all of the butter


If I only ate 1.....