Tuesday, April 30, 2013

Oreo Cheesecake Bites


OMG ~~ these are fabulous. HOLY Cow. I could eat the whole pan. How can a dessert be bad with four packages of cream cheese and a whole package of Oreo's. ... Well, missing two or three.

This dessert went together easy, few ingredients and cut nicely. I made these for a charity event. I also dipped strawberries and made mini Boston Cream cakes. (another day for recipe). My friend Stephanie supplied the Gluten Free Brownies and Gluten Free Carrot Cake Bites. Everything was delicious and people ate all of them.


This dessert made a very full pan. I followed the instructions and used the 9 x 13 pan. I think next time, I will use a 10 x 14 pan. Not so thick, and many more pieces of heaven.

Oreo Cheesecake Bites
adapted by melskitchencafe.com

Ingredients
38 Oreo cookies, divided
1/4 cup (4 tablespoons) butter
4 package (8 ounces each cream cheese, softened
1 cup granulated sugar
1 cup sour cream or plain yogurt
1 teaspoon vanilla
4 large eggs
4 ounces semisweet chocolate
4 ounces white chocolate

Directions
Preheat the oven to 325 degrees.

Line a 9 x 13 pan with foil, with ends extending over sides. Finely crush 26 Oreo cookies. Melt butter, and then mix with crumbs. Press crumb mixture into the bottom of prepared pan.

In a large mixing bowl, with a paddle attachment, beat the cream cheese and sugar until well blended. Add sour cream and vanilla and mix. Add eggs, one at a time, and mix until just blended. Chop up remaining Oreo cookies. Add to batter, and gently fold in.


Oreo and Butter Crust


Oreo's and Cream Cheese


Lumps of loving goodness


This is a FULL pan

Bake the cheesecake for 38-42 minutes, or until sides are set and the center is almost set. Cool completely on a wire rack in the pan.


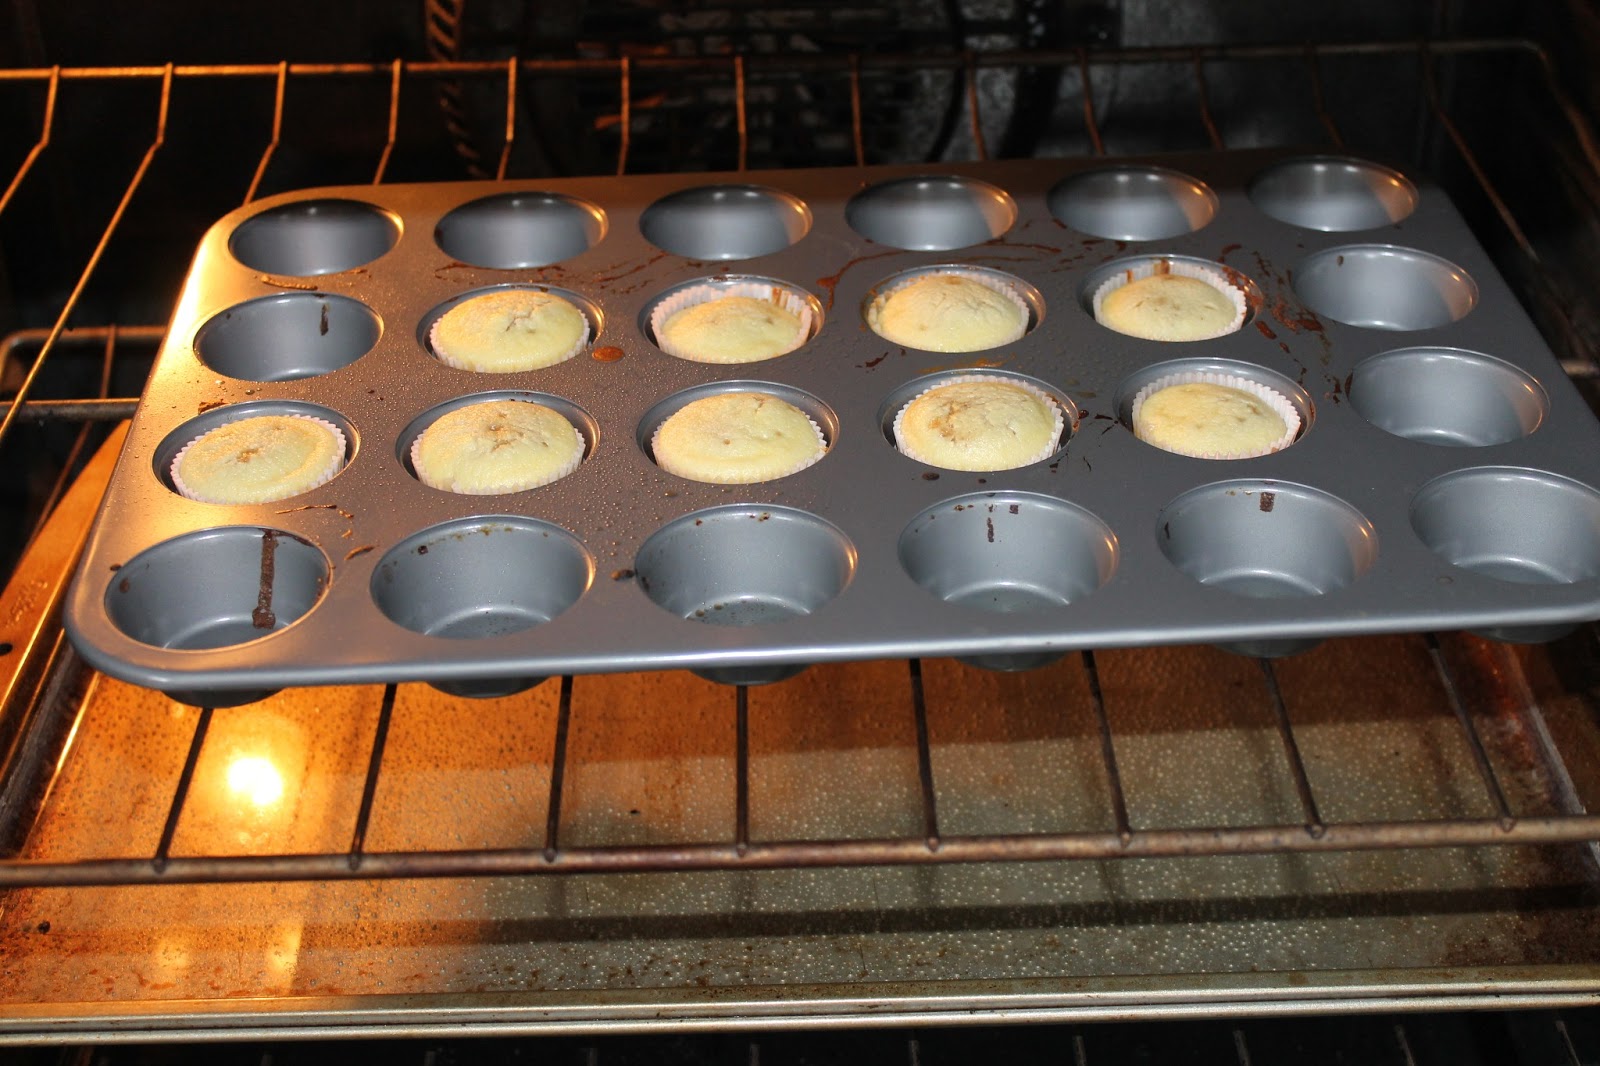
Just a bit toooo brown. Should have come out two minutes sooner
When the cheesecake is cooled completely, cover with plastic wrap and refrigerate for at least 2 hours. When chilled, remove the cheesecake from the pan using the foil overhangs. Melt the chocolates, in separate bowls at 50% power in the microwave. Stirring frequently. Pour each chocolate into a ziploc bag and drizzle over the top of cheesecake. Cut into small pieces. AND serve.


I did dipped strawberries, mini Boston cream cakes and the Oreo bits. 


The dessert table was just packed with all kinds of delicious morsels


Digging the new dress and shoes. It was a fun night with my wonderful husband.

Monday, April 15, 2013

Hummingbird Cheesecakes

Hummingbird Cake. To coconut or not to coconut, that really is the question. My Mother has made Hummingbird Cake with Coconut from a Southern Living recipe for as long as I can remember. It was always perfect for a party. A three layer cake that tasted FABULOUS. Kind of like a crowning glory. Perfect in presentation. The cake could even be made the day before. If you had any problems, you put the cream cheese frosting on it, coated the sides with coconut or crushed pecans, and no one knew the difference.


So when I came across this recipe, I thought, nuggets of springtime love. 
Perfect for a shower or party


Hummingbird Cheesecakes
Adapted from mangoandpalmtrees.com
Make 5 dozen Mini muffins

Ingredients
Cake
1 1/2 cups all purpose flour
1/2 teaspoon baking soda
1/2 teaspoon fine sea salt
1 cup granulated sugar
1/2 teaspoon cinnamon
2 large eggs, beaten
1/2 cup canola or vegetable oil
1 teaspoon vanilla extract
1/2 cup pureed pineapple
1/2 cup pureed bananas
1/2 cup finely chopped nuts

Cheesecake
8 oz cream cheese, room temperature
1/2 cup granulated sugar
3 large eggs
1/2 cup sour cream or plain yogurt
1 tablespoon lemon juice
1/2 teaspoon vanilla extract
pinch of sea salt

Directions
Place a shallow roasting pan or baking sheet in the center of the oven's bottom rack, and pour enough hot water into the pan to come up 2 inches up the sides. (THIS keeps the cheesecakes from drying out or over browning.)
Preheat oven to 350 degrees.

To make the Hummingbird Cake batter, combine the flour, baking soda, salt, sugar, cinnamon in a mixing bowl and whisked together until evenly combined. Add the eggs and oil to the dry mixture. Stir until just combined. Add the vanilla, pineapple, bananas and nuts for the mixture. Stir to combine.

To make the Cheesecake batter, place cream cheese in a mixing bowl with a paddle attachment. Beat until smooth. Add the sugar, beat at medium speed for 3 minutes. Turn to low, and add the eggs one at a time. Add Sour cream or yogurt, the lemon juice, vanilla extract and salt. Increase speed to medium and blend for 3 minutes.

Line a mini muffin pan with liners. In the bottom of each cup, place 1 teaspoon of Hummingbird cake batter. Top with 2 teaspoons of cheesecake batter. DO NOT SWIRL.

Bake the cheesecakes for 15 minutes . Remove from the oven and cool in the pan for 5 more minutes. Then transfer the cheesecakes to a cooling rack.

Allow cheesecakes to cool completely. Garnish with a squirt of frosting, coconut, or nuts. Serve.


This was the first layer of the cake, placed in the mini muffin pans.


The roasting pan with the water underneath really was important. NONE of the cakes cracked.


Plain guy ~~ there is no Coconut in him


Shot of frosting on top


 I really liked these. Very light, perfect for Spring.

Tuesday, April 2, 2013

April Fooling

Welcome to April. I hope everyone had a great Easter. Mine was wonderful. It was a VERY low key holiday. My Mother is still in Florida. My sister and her daughters went down to see my Mom and my Florida sister. My youngest sister was just happy doing nothing. MY Husband was all for a stress less day. And I was in total agreement. I did make a delicious ham with a fabulous glaze. It was wonderful new recipe.

Over the weekend, my friend and I did some retail and lunch therapy. One of our first stops was Trader Joe's. Always a wealth of fun and delicious items. My cat Black Cherry also likes Trader Joe's (bag).


totally hanging out

My Sweets and Treats business has been taking off. I have had a job every weekend. I am still catering, and working a day job. Life has been a bit crazy. But I am loving it. My business cards look fantastic. The web site is under construction, and with the help of many friends and family, we are marketing the crap out of this business adventure.

I have been making cakes, cupcakes, cookies and bars. And I have done several seasonal items. For Easter, I made a few Carrot Cakes. Pretty Easter Cupcakes and delicious Banana breads. There are so many special occasions coming up. I look forward to trying new recipes that will make these events more memorable.


I have been invited to a Healthy Eating Event. I found some Gluten Free Recipes and Lighter and Healthier Recipes. The challenges we face everyday trying to eat healthy. So many people have dietary restrictions.


Someday's I feel like crawling into a bag, and not coming out. But I realize the challenges we are faced with and try to move forward.  I am so excited about the launching of my Sweets business. I know it will be loads of hard work, but this is something I really want to do. And Life is to short for bad Pastry.

Saturday, March 30, 2013

Carrot Cake

Have you ever made a Carrot Cake that turned out DRY. NO way, it cannot happen. The beauty of carrot cake is that is it loaded with moist loving goodness. It is a bit of a dump cake, NO Mixer needed. You need to follow a recipe, but if you want to add raisins, or coconut or nuts, you can. It always turns out delicious. Carrot Cake has two seasons. Spring and Fall. It always reminds me of Easter in the Spring. In the Fall, it is the harvesting of carrots from the earth


Carrot Cake is a full bodied cake. It should not be a heavy lump of stuff, but it is loaded with carrots and other treasures. Furthermore, who does not love Cream Cheese frosting. I have also had Carrot Cake for breakfast. And I wonder why I run every morning.

Carrot Cake
adapted from loveveggiesandyoga.com  

Ingredients
Cake
1/2 cup butter, melted (1 stick)
1/2 cup oil
2 large eggs
3/4 cup buttermilk
1 1/2 cups granulated sugar
1/4 cup brown sugar (packed)
2 teaspoons vanilla extract
1 1/2 teaspoons cinnamon
1/2 teaspoon ground cloves
1/2 teaspoon allspice
1/4 teaspoon ground nutmeg
2 cups flour
1 1/2 teaspoons baking soda
1 teaspoon baking powder
2 full cups coarsely grated carrots
1 cup raisins (optional)
1 cup chopped walnuts or pecans (optional)

Frosting
4 ounces cream cheese, softened
1/4 cup butter 
1 1/2 cups powdered sugar
1/2 teaspoon vanilla extract

Directions
For the CAKE ~ Preheat oven to 350 degrees. Spray one 9 x 13 pan, or one 10 x 10 pan or two loaf pans. The size of the pan will affect the thickness of the Cake, and your cooking time.

In a large microwave safe bowl, melt the butter. Add the oil, eggs, buttermilk, both sugars, vanilla, cinnamon, allspice, cloves, nutmeg and whisk vigorously until combined. Add the flour, baking soda, baking powder and stir to incorporated. Stir in carrots. Add optional raisins and nuts. Pour batter into prepared pan. Place in the oven. If using 9 x 13 or 10 x 10 pans, start checking at 30 minutes. If using two loaf pans, bake for 40-50 minutes. You will need to check if it is done with a toothpick. Cool on a wire rack

For the FROSTING ~ In a bowl of a stand mixer fitted with a paddle attachment, add cream cheese and butter. Beat for 1 to 2 minutes. Add vanilla and mix. Add powder sugar slowly until combined. Mix on medium speed to 2 more minutes. Spread frosting over cooled cake. Store in refrigerator.


My Husband loved this cake. 

Wednesday, March 27, 2013

Brownies from Heaven


How many Brownie recipes can there really be? I have asked myself that before. BUT, these Brownies are the bomb. One bowl wonders of amazing deliciousness.(is that a word) I have made these brownies four times now, and each time they were perfect. No debate.

These brownies are frosted. Some might say, that these would be "just fine" without frosting, but I disagree. The frosting is put on when you take the brownies out of the oven. It just melts in, adding more flavor.


Morsels of moist chocolaty deliciousness.

Brownies from Heaven

Ingredients
1 cup butter (2 sticks)
2 oz unsweetened chocolate
2 cups sugar
4 eggs, lightly beaten
2 teaspoons vanilla extract
2/3 cup of cocoa powder
1 cup all purpose flour
1/2 teaspoon salt
1/2 teaspoon baking powder

Directions
Turn on oven to 350 degrees. Spray or butter a 9 x 13 pan. I have also used tin foil in my pan for easy removal. Spray tin foil if using that method.

In a large bowl, add butter and chocolate. Place in microwave and melt for a minute or two. Time depends on the power of your microwave. Continue to check and stir until completely melted. The butter will melt first, and then the chocolate.
Remove from the microwave and with a spatula, gently stir in sugar and vanilla. Add eggs and mix. Then add remaining dry ingredients and mix until combined. Spread batter into baking pan and place in the oven for 28 minutes. Bake until toothpick comes out mostly clean, with a little bit of fudgey.


One bowl is all you need to make these brownies, NO mixer today


This is a full pan of brownies

Frosting
Ingredients
6 tablespoons butter softened
6 tablespoons cocoa powder
2 tablespoons honey
2 teaspoons vanilla extract
1 1/2 - 2 cups of powdered sugar

Directions
Beat until combined to the consistency you like. Will be slightly stiff. Frost while the brownies are warm. The frosting will melt over the brownies. These brownies will not dry out. Let cool completely before cutting. 


A nice layer of frosting to add more flavor


Another quick easy recipe, that would be a hit at any party. 

Tuesday, March 26, 2013

Buttermilk Waffles

I love Waffles. I may have told you that before. My Husband also loves waffles. Yesterday for dinner we had Waffles, Bacon and Eggs. I really had wanted this for breakfast, but things do not always work out that way. So, waffles for dinner. Maple syrup is even better at dinner.


I tried this recipe once before not using all the correct ingredients and it was mediocre. I was so disappointed. The recipe calls for Buttermilk powder, it HAS to be used. I had to search several grocery stores. It is hard to find, but when I did, I grab it off the shelf and purchased it. As always, recipes from America's Test Kitchen are fabulous and turn out perfect. If you follow the recipe correctly. These waffles were amazing.

Buttermilk Waffles
America's Test Kitchen
Ingredients
2 cups flour
3/4 teaspoon salt
1 tablespoon sugar
1/2 teaspoon baking soda
1/2 cup buttermilk powder
2 large eggs
1/4 teaspoon vanilla extract 
1/2 cup sour cream or yogurt
1/4 cup vegetable oil
1 1/4 cups club soda

Directions
Plug in the waffle iron. If you have sticking problems, spray iron with non-cook spray.  
Combine all dry ingredients into a large bowl. Add all liquid ingredients into dry ingredients, and mix. There may be a few lumps, that is OK. Pour into heated waffle iron. Cook and Presto, perfect waffles. 


This is the container for Buttermilk powder. It was in the Baking aisle at the grocery store.


It is hard to pour and take pictures. Just do not over fill, the batter will ooze out all over


The syrup was dripping off the Waffles. 


Friday, March 15, 2013

No Bake Chocolate-Coconut Bars

As I am sitting here with a thousand ideas in my head and nothing on the laptop.There was a commercial that stated that Julia Child did not publish her first book until she was 51. I just celebrated a birthday last week. I am not in my 50's, but they are rapidly approaching. Holding onto my forties with so much force. This is also why I am working on launching my sweets business. I have made several treats for a few different events. It is starting out slowly. As this blog progresses, I hope my life will continue to change.

Our trip to FLA was wonderful. My Mom is doing great. She looks fabulous. We walked on the beach everyday. It is always so much work to get to Florida, but I am always glad we went. My sisters and I  are so lucky there are so many great people in Florida.


My Husband and I were also fortunate enough to see my Florida sister twice. It was a blast hanging out with her. My Sister made this fabulous Strawberry Cake for me pictured above. Someday, I will post the recipe. She also made a lovely Meyer Lemon Cheesecake on my birthday. WE ate and drank way to much on vacation. I actually sleep all night. 8 hours of sleep is quite an accomplishment for me.


The Sunsets are always so amazing

So, we are back home trying to go back to regular food. Desserts were still screaming for me. I have always loved No Bakes. They are always such a wonderful little treat. When we were younger, my sisters and I used to make them and eat them out of the pan on the stove. Burned our tongues every time.


These bars are fabulous. I could really eat the whole pan. Little refrigerated snacks. They are also healthy, yes healthy. Coconut oil is so good for you. Peanut Butter, Oatmeal, Dark Chocolate, and Nuts, all good things. Talk about protein and fiber. This recipe can be modified a ton of different ways. Whatever floats your boat, or whatever you have in the pantry.  Most of all, these are bars are easy to whip up. Great for any short notice get together.


No Bake Chocolate Coconut Bars
adapted from eatgood4life.blogspot.com

Ingredients

1 cup peanut butter
1/2 cup honey
1/2 cup coconut oil
2 cups old fashioned oatmeal
1 cup shredded coconut
1/2 cup chopped pecans
1 1/4 cup dark chocolate chips
1/4 cup flax seed meal

Directions
Line a 8x8, 9x9, or 10x10 pan with parchment paper. This will vary the thickness. Set aside.

Melt the peanut butter, honey and coconut oil in a medium size saucepan over medium low heat. Stir until mixture melts. When melted, add chocolate chips and continue to stir. About a minute or so.

Remove pan from heat and stir in remaining ingredients until combined.

Pour mixture into your pan. Refrigerate for 3-4 hours, until set up. Cut into pieces and pig out!


Stove top cooking in one pan ~~ EASY ~~


Pour into the pan. I used a 10 x 10 pan. A smaller pan would make thicker bars


At the Pier.. thanks Mom for the great Vacation.