Thursday, October 31, 2013

Pumpkin Dump Bars

The name of this recipe is not pretty, but taste wins this battle. I am not the pumpkin eater, but these bars are SO up my alley. They are just a great combination of flavors. They will last for two or three days, if you are hiding them. Futhermore, they are easy. What more do you want in life. My Friend Mary, said they would be better than Pumpkin Pie. You could ALWAYS squirt some whipped cream on each of these bars and serve as a Proper dessert.


Chocked full of fun fall flavors


I think I need to buy this stuff in bulk.

Pumpkin Dump Bars
Came off a Facebook recipe post
Ingredients
1 15 oz can pumpkin puree
1 10oz can evaporated milk
1 cup light brown sugar
3 eggs
3 teaspoons pumpkin pie spice
1 box yellow cake mix
1 cup (2 sticks) butter, melted
1 cup chopped pecans
1/2 cup toffee bits

Directions
Preheat oven to 350 degrees. Line a 9 x 13 pan with tin foil. Lightly spray foil with Pam. 

In a large bowl, mix in pumpkin puree, evaporated milk, sugar, eggs and pumpkin pie spice. Stir to combine. Pour in the prepared pan. Sprinkle the entire box of cake mix on top of filling. Follow with the nuts and then the toffee bits. Pour the melted butter over the top of everything. DO NOT MIX OR STIR. Place in oven and bake for 45-50 minutes. Until the center is set and edges are slightly browned. Let cool completely and store in the refrigerator. 


 What does not taste better with some Toffee Bits


Everything is poured on top of the Pumpkin batter, Simple layers of different flavors


EASY Peasey.... ok, not a word, but you can whip this easy dessert up
for any party or event. Whip cream or Ice cream on top would be the BOMB.

Friday, October 25, 2013

Apple Crumble Bars

Apple season is in ABUNDANCE this year. Holy cow. There was never a late frost this year. Enough rain in the spring and a dry hot Fall. All the trees around us are breaking from so many apples.

I really like this recipe. If you were using some green apples, you would probably need to add a bit more sugar. It was easy to put together, and people love it. I have included in treat bags, and made it for my family. You could serve this with ice cream for dessert at a party. Or just eat your piece of heaven with your fingers.


This is my magazine picture. AND the apples that I used

Apple Crumble Bars
Adapted from veryculinary.com

Ingredients
3 cups all purpose flour
3/4 cup packed brown sugar
1/4 cup granulated sugar
2 teaspoons cinnamon
1 egg
1 cup (2 sticks) cool butter
1/2 cup granulated sugar
2 teaspoons flour
6 medium apples, peeled, cored and small pieces or grated

Directions
Preheat oven to 350 degrees. Line a 9 x 13 pan with tin foil, spray with PAM, set aside

In a medium bowl, mix the flour, brown sugar, 1/4 cup of sugar, cinnamon. Work in the butter and egg with a pastry blender or your hands until pea size clumps form and virtually no loose flour remains. Press half of the mixture evenly into the prepared pan. Set other half aside.

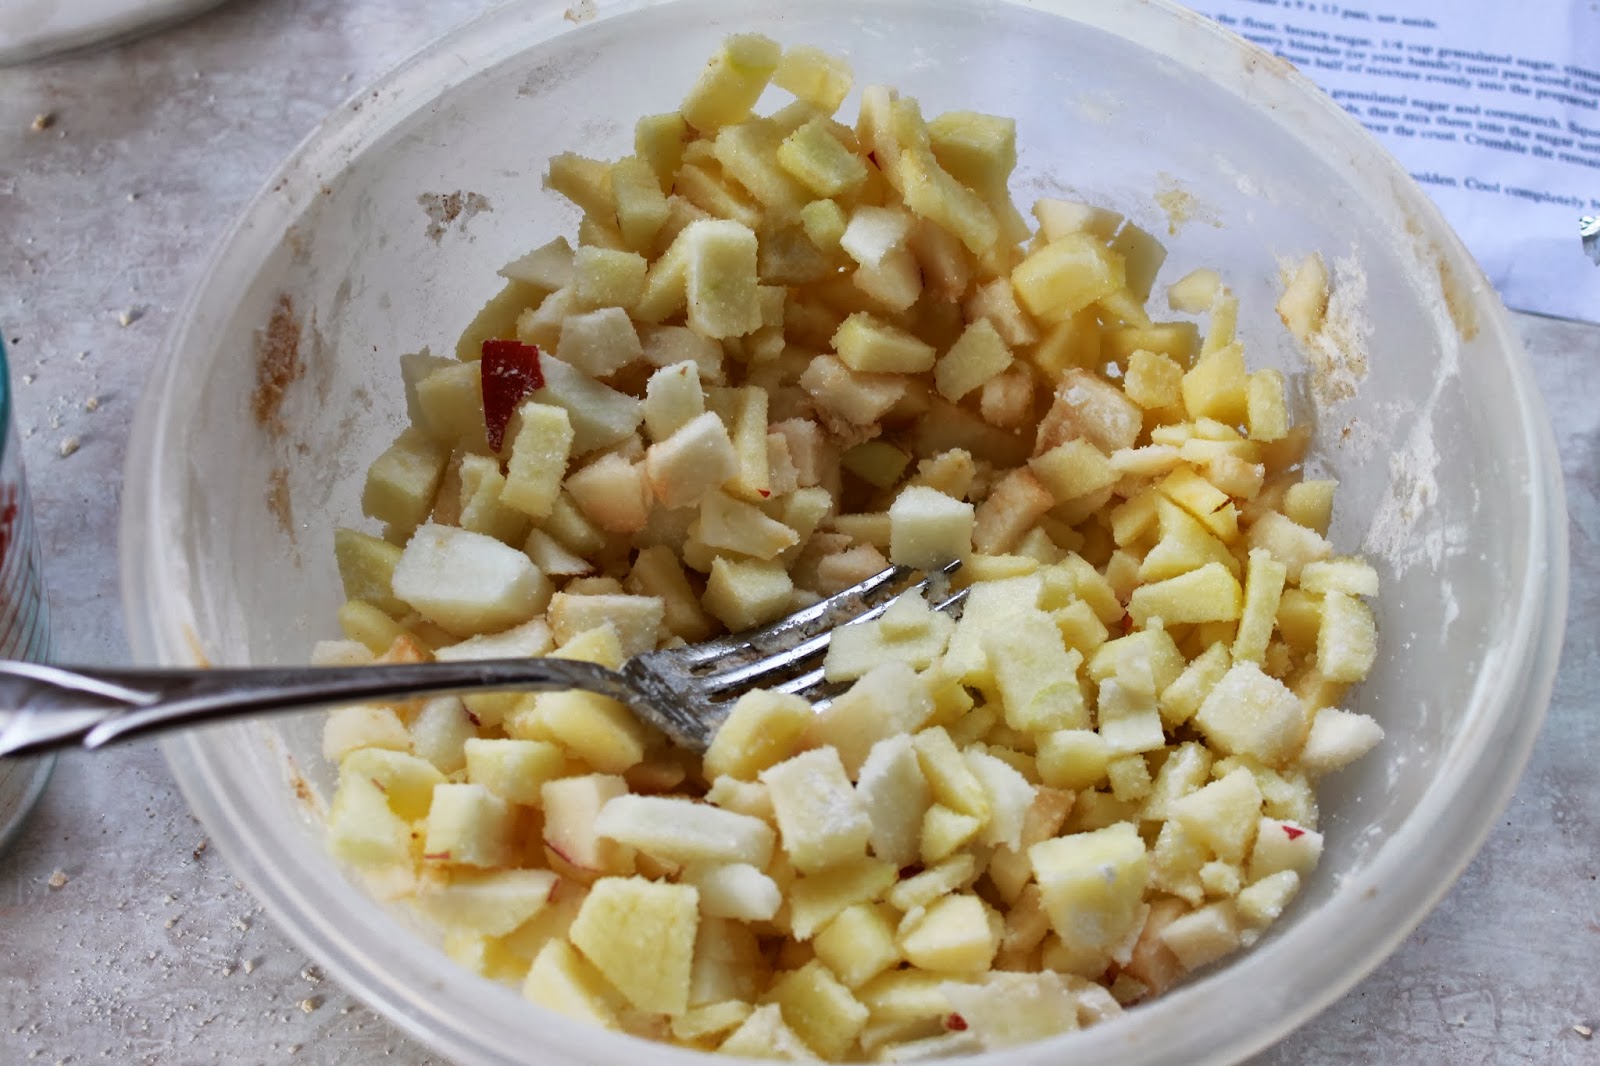
In another bowl, stir together the 1/2 cup of sugar and the flour. Make sure your apples are not real juicy. Mix the apples with the sugar, flour mixture. Sprinkle the apple mixture evenly over the crust. Crumble the remaining dough over the tops of the apples.

Bake for 30-32 minutes or until the top is slightly golden. Cool completely before cutting into square.


Working with small lumps of butter and mixture


Apples coated with the sugar and flour


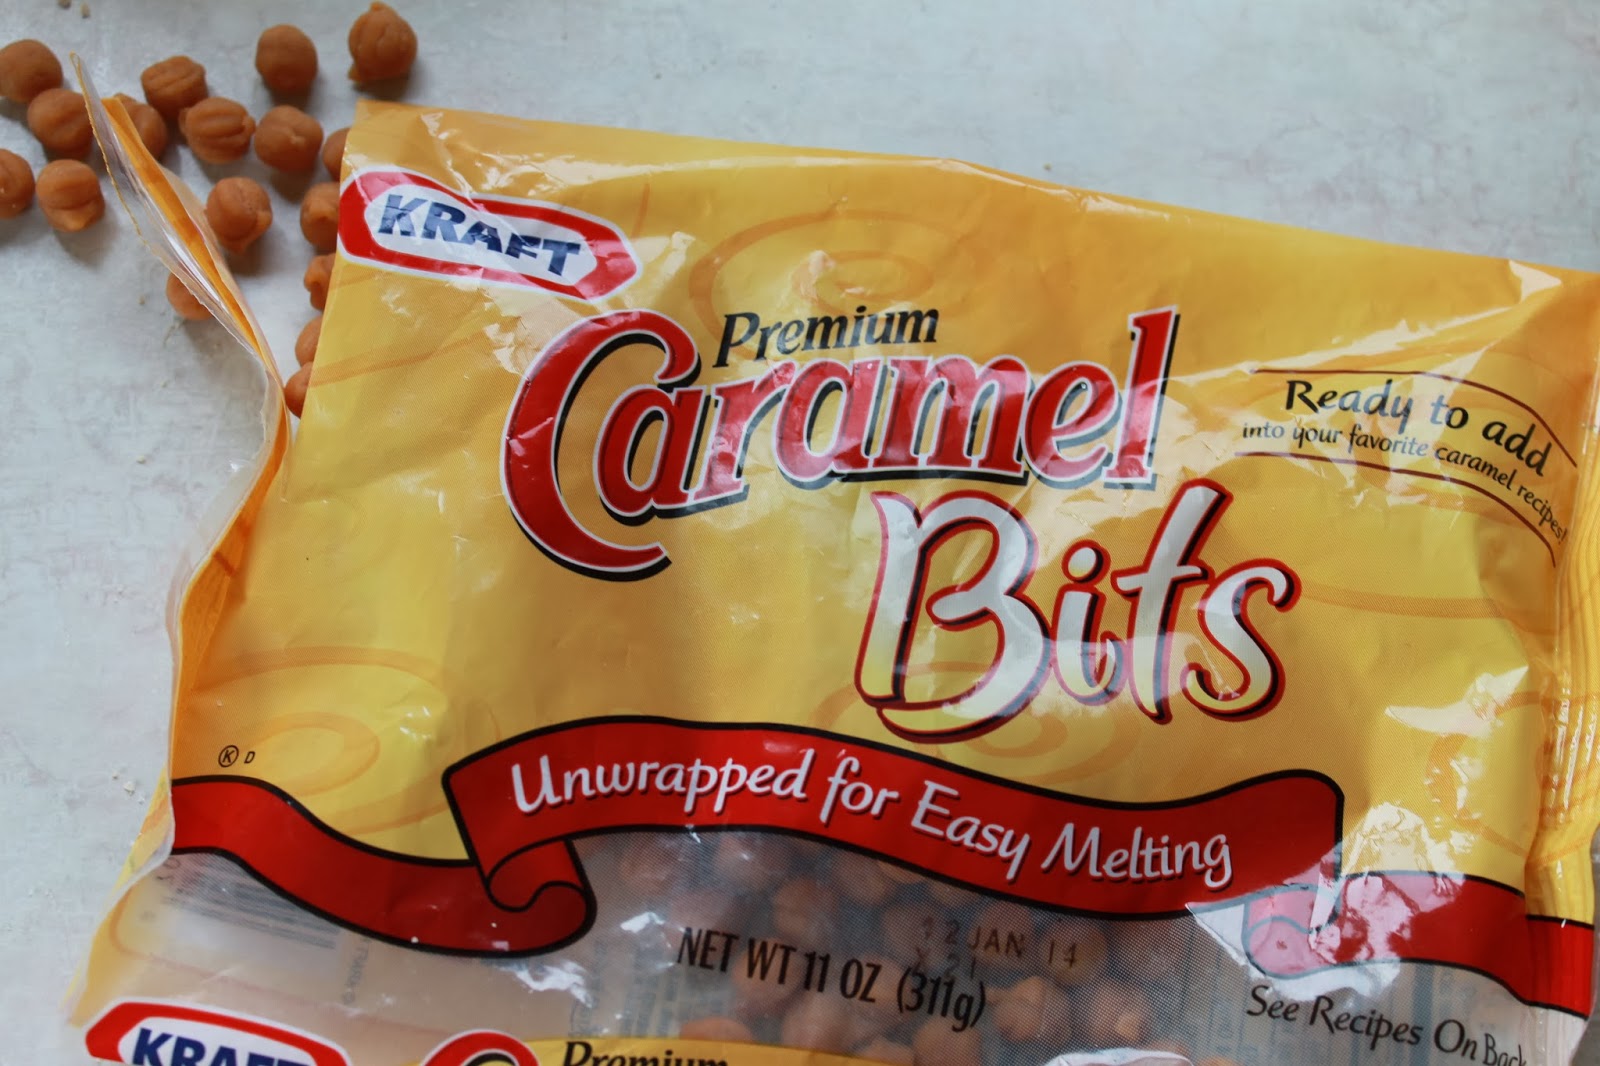
I love baking with Caramel bits. SO much easier than unwrapping caramels. 
Most bags can take care of two recipes. They are then not as expensive.


I love to use the tin foil. Once cooled. Pull out of pan and cut. SO MUCH easier.
And clean up is a breeze.


Apples, Caramel Chips melded together. Just like a caramel apple


Brought these to my sisters and Mom. They loved them.
Baked with LOVE.. A very good day.

Thursday, October 24, 2013

Halloween Wreath

I am not your Fall girl. I love my summer...  I know that I love to decorate for Fall. Next to Christmas, I have loads of Fall decorations. Our whole main floor and outside get the Fall and Halloween treatment. This is also why we have a Black Cat. He performs on Halloween for all of my Trick or Treaters.


Tried a different approach this year. A little more wild and carefree.

One day, I was in Michael's for the 1000th time, standing in their forever line, looking at their wreaths. I have always been able to do wreaths, just basic styling. I was not paying $45.00 for a Halloween wreath. NO way. So, I came home and down to the basement I went. Gathered some supplies and went from there. Spray paint from the garage and off to the back yard with a smile on my face.


I found this greenery garland that I had purchased at the end of the season for 80% off.


I had a 40% off coupon, that I used for the wire wreath base. It was $5.00.. and then a coupon. I did not even use any wire. Just folded the greenery around the base. EASY


And then on to my favorite part.... Spray Paint City. Over the years, I have painted SO many things. I really think I was a tagger in a former life. Once I was done painting, hung it in the garage to dry completely.


I purchased some Fall/Halloween Orange Ribbon.(with a coupon) I have seen this type of ribbon around for the last year or so. Wanted to try it, just did not take the time. I made these big loops, and wound it through the greenery and wreath. 


I wrapped another smaller black metallic ribbon around for different color and texture. I purchased some glittery Halloween picks. Inserted them and I was DONE.


MY FRONT DOOR
Steal my ideas. Do this for your house. Send me your pictures. I would love to see them.
Most of ALL... Make it yourself. Get those creative juices flowing.


This is our Monster from two years ago. PVC pipes, fabrics and a mask.
This was also a blast to make.