Monday, November 25, 2013

Pumpkin Swirl Bread

I was looking for recipes yesterday instead of working on my Christmas Cards. Bored. I found several recipes for better dinners. Wow, I have been making the same crap (food) over and over. I had a last ditch for Fall for some orders for Thanksgiving. Then pumpkin is gone and bring on Christmas.

I forgot how beautiful and delicious this bread is and I do not like pumpkin. I am sending to my Florida sister. I miss her and she is very busy these days. Sending love from home. Not a mediocre, this is a show piece. I used my large loaf pan, and it was full. You could possibly make two small pans (8x4) and not fill all the way and still have something to give.

Pumpkin Swirl Bread
adapted from Blogs.babble.com
Ingredients

5 tablespoons softened butter
1 cup brown sugar
1/2 cup granulated sugar
3 large eggs
1 15 oz can of pumpkin
1/4 cup of milk
2 3/4 cups of flour
2 teaspoons of baking powder
2 tablespoons of pumpkin pie spice
8 oz of cream cheese
1 egg
1/3 cup sugar

Topping- 1/4 cup granulated sugar and 1 teaspoon cinnamon. MIXED (optional)

Directions

Preheat oven to 350 degrees. Spray with baking spray or butter 1 large 9 x 5 loaf pan. Set aside

In a mixing bowl with a paddle attachment, beat together butter, brown sugar and 1/2 cup of granulated sugar until fluffy. Add in eggs, one at a time, add in pumpkin and milk and mix. Add dry ingredients at once and mix through.

In a second mixing bowl, beat together the cream cheese, egg and 1/3 cup of sugar. Set aside.

In your large loaf pan, Pour in a thin layer of the pumpkin batter into the bottom of the pan. Spoon half of the cream cheese filling over the pumpkin. Spoon almost all the the pumpkin batter of the cream cheese filling. Spoon the rest of the cream cheese over the pumpkin. Cover with the remaining pumpkin batter and ever so slightly swirl the top only. DO not dive into the batter. Sprinkle with the Cinnamon-Sugar topping.
Bake for 60-70 minutes or until toothpick comes out clean.

Let cool for at least a 1/2 hour. Invert and place on plate.


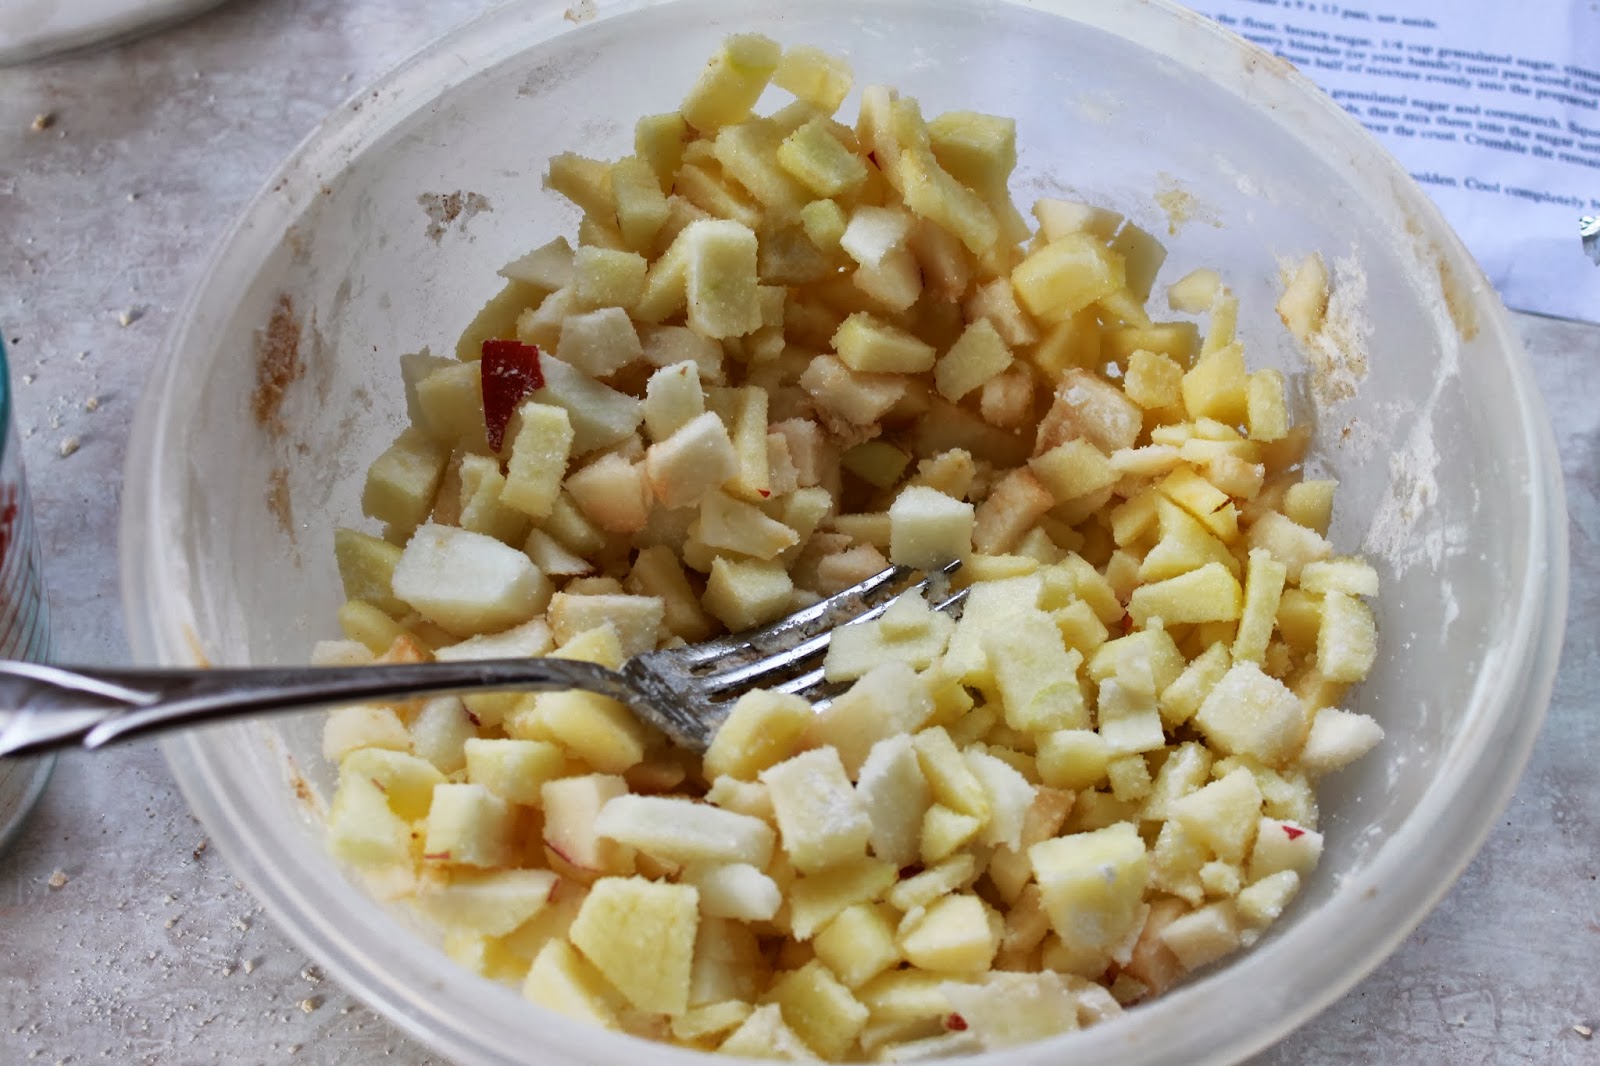
Just some basic ingredients


Ugly good kind of batter


That is one large loaf of Pumpkin Bread


LOOK at all of that moistness.  Yummy delicious
ALSO -- my Christmas cards are getting SO close to being done..


Thursday, November 21, 2013

JOY Sign

I looked at the calendar, and had several freak outs. Where have I been???? The month is more than half over, and I have not written all month. Sorry folks... I have been baking up a storm. Sweets by Shayla, has been very busy. I am so appreciative of all the business lately, BUT my creativity has gone into cakes. I really do like designing cakes and doing something different on each cake.

My other freak outs are that my Christmas cards are not started. I finally have the paper and cards. I am using a stamp from over 10 years ago. I wanted to see what I would do differently. These cards will not be going out early this year. No way, NO how...

Another freak out, last year I made this beautiful outdoor garland. It turned out great. (Featured last December) I was given a huge amount of garland and greenery last January. I bought all the stuff  to fill it at over 75% off. Bargains galore. BUT, I never started the garland. Looked at it, thought about it, BUT never did it. OMG....

My last freak out, I wanted to make this JOY sign. I have been begging for pallet boards. I have been informed that pallets are VERY hard to take apart. They never say that on Pinterest. So my husband found some old boards and off I went.


I liked this sign, but I did not want to shaggy bottom. 

This sign was a two day project. Could be done in a day, but I never start anything early. 


Just a few pieces to start this project


Power tools. Love them. Lined up the four boards, put a backer board on the backside 
and screw them in to support the board. 
I put a backer board near the top and bottom on the backside.
If you do not have a screw gun, a hammer and nails will also work.


In a former life, I was a tagger. I love spray painting.
I went over the boards a few times, to fill in.
Then I used Gold spray paint to form whispy lines for accents
  

I laid down the stencils. You could space them anyway you want. 


Started painting with the Gold. I needed to go over it twice. 
The boards just sucked up the paint. 
I removed the stencils and filled in. 


I did not like the Gold. You would never see it from the road.
I used a dark Green over the Gold, once that was dry, I went over 
the dark Green with a Metallic Green. 
Altered the letters a bit, added slight serifs. 
This project is open to interpretation. DO WHAT YOU WANT


Finished Project.... YEAH!! One done.
Someone asked me how my Christmas shopping was going... YEAH Right....
That is another Freak out.

Thursday, October 31, 2013

Pumpkin Dump Bars

The name of this recipe is not pretty, but taste wins this battle. I am not the pumpkin eater, but these bars are SO up my alley. They are just a great combination of flavors. They will last for two or three days, if you are hiding them. Futhermore, they are easy. What more do you want in life. My Friend Mary, said they would be better than Pumpkin Pie. You could ALWAYS squirt some whipped cream on each of these bars and serve as a Proper dessert.


Chocked full of fun fall flavors


I think I need to buy this stuff in bulk.

Pumpkin Dump Bars
Came off a Facebook recipe post
Ingredients
1 15 oz can pumpkin puree
1 10oz can evaporated milk
1 cup light brown sugar
3 eggs
3 teaspoons pumpkin pie spice
1 box yellow cake mix
1 cup (2 sticks) butter, melted
1 cup chopped pecans
1/2 cup toffee bits

Directions
Preheat oven to 350 degrees. Line a 9 x 13 pan with tin foil. Lightly spray foil with Pam. 

In a large bowl, mix in pumpkin puree, evaporated milk, sugar, eggs and pumpkin pie spice. Stir to combine. Pour in the prepared pan. Sprinkle the entire box of cake mix on top of filling. Follow with the nuts and then the toffee bits. Pour the melted butter over the top of everything. DO NOT MIX OR STIR. Place in oven and bake for 45-50 minutes. Until the center is set and edges are slightly browned. Let cool completely and store in the refrigerator. 


 What does not taste better with some Toffee Bits


Everything is poured on top of the Pumpkin batter, Simple layers of different flavors


EASY Peasey.... ok, not a word, but you can whip this easy dessert up
for any party or event. Whip cream or Ice cream on top would be the BOMB.

Friday, October 25, 2013

Apple Crumble Bars

Apple season is in ABUNDANCE this year. Holy cow. There was never a late frost this year. Enough rain in the spring and a dry hot Fall. All the trees around us are breaking from so many apples.

I really like this recipe. If you were using some green apples, you would probably need to add a bit more sugar. It was easy to put together, and people love it. I have included in treat bags, and made it for my family. You could serve this with ice cream for dessert at a party. Or just eat your piece of heaven with your fingers.


This is my magazine picture. AND the apples that I used

Apple Crumble Bars
Adapted from veryculinary.com

Ingredients
3 cups all purpose flour
3/4 cup packed brown sugar
1/4 cup granulated sugar
2 teaspoons cinnamon
1 egg
1 cup (2 sticks) cool butter
1/2 cup granulated sugar
2 teaspoons flour
6 medium apples, peeled, cored and small pieces or grated

Directions
Preheat oven to 350 degrees. Line a 9 x 13 pan with tin foil, spray with PAM, set aside

In a medium bowl, mix the flour, brown sugar, 1/4 cup of sugar, cinnamon. Work in the butter and egg with a pastry blender or your hands until pea size clumps form and virtually no loose flour remains. Press half of the mixture evenly into the prepared pan. Set other half aside.

In another bowl, stir together the 1/2 cup of sugar and the flour. Make sure your apples are not real juicy. Mix the apples with the sugar, flour mixture. Sprinkle the apple mixture evenly over the crust. Crumble the remaining dough over the tops of the apples.

Bake for 30-32 minutes or until the top is slightly golden. Cool completely before cutting into square.


Working with small lumps of butter and mixture


Apples coated with the sugar and flour


I love baking with Caramel bits. SO much easier than unwrapping caramels. 
Most bags can take care of two recipes. They are then not as expensive.


I love to use the tin foil. Once cooled. Pull out of pan and cut. SO MUCH easier.
And clean up is a breeze.


Apples, Caramel Chips melded together. Just like a caramel apple


Brought these to my sisters and Mom. They loved them.
Baked with LOVE.. A very good day.

Thursday, October 24, 2013

Halloween Wreath

I am not your Fall girl. I love my summer...  I know that I love to decorate for Fall. Next to Christmas, I have loads of Fall decorations. Our whole main floor and outside get the Fall and Halloween treatment. This is also why we have a Black Cat. He performs on Halloween for all of my Trick or Treaters.


Tried a different approach this year. A little more wild and carefree.

One day, I was in Michael's for the 1000th time, standing in their forever line, looking at their wreaths. I have always been able to do wreaths, just basic styling. I was not paying $45.00 for a Halloween wreath. NO way. So, I came home and down to the basement I went. Gathered some supplies and went from there. Spray paint from the garage and off to the back yard with a smile on my face.


I found this greenery garland that I had purchased at the end of the season for 80% off.


I had a 40% off coupon, that I used for the wire wreath base. It was $5.00.. and then a coupon. I did not even use any wire. Just folded the greenery around the base. EASY


And then on to my favorite part.... Spray Paint City. Over the years, I have painted SO many things. I really think I was a tagger in a former life. Once I was done painting, hung it in the garage to dry completely.


I purchased some Fall/Halloween Orange Ribbon.(with a coupon) I have seen this type of ribbon around for the last year or so. Wanted to try it, just did not take the time. I made these big loops, and wound it through the greenery and wreath. 


I wrapped another smaller black metallic ribbon around for different color and texture. I purchased some glittery Halloween picks. Inserted them and I was DONE.


MY FRONT DOOR
Steal my ideas. Do this for your house. Send me your pictures. I would love to see them.
Most of ALL... Make it yourself. Get those creative juices flowing.


This is our Monster from two years ago. PVC pipes, fabrics and a mask.
This was also a blast to make. 

Saturday, September 28, 2013

Pumpkin Chocolate Chip Cookies

Fall is here. And of course, in the Chicago land area, we are still holding on to late Summer. 80's again today and I am still sporting sandals to work. Maybe next Tuesday, October 1st, things will have to change. On Thursday, I went to a monthly biker party. They are ok, but I wanted to see a few friends I was missing. I brought this tray to the party. I really should have taken a picture at the end of night. Probably 3 cookies left on it. Gone, devoured, and greatly enjoyed by all, even some random strangers. That is the FUN of bike night.


beer, cookies and conversation...


Soft flavorful morsels of Fall flavors

I have been making this recipes for six years. I once had a neighbor lady that made these cookies. Things changed and we stopped being friends. She has since moved away. I am not a pumpkin fan, but these are very good cookies. The combination of flavors really enhance these cookies.

Pumpkin Chocolate Chip Cookies
adapted from former neighbor lady

Ingredients
1 cup butter, softened
1 1/2 cup granulated sugar
1 cup pumpkin puree
1 egg
1 teaspoon vanilla extract
2 3/4 cups flour
2 teaspoons cinnamon
1 teaspoon baking soda
1 teaspoon baking powder
1 cup mini chocolate chips

Directions
Pre-heat oven to 350 degrees. Line baking sheets with Silpats or parchment paper. set aside

In a large mixing bowl with a paddle attachment, place butter and sugar until light and creamy. about 5 minutes. Add in pumpkin and vanilla, and mix. Add in egg and mix. Add in all dry ingredients and mix in. Hand mix in the mini chocolate chips.

Scoop on a sheets and bake for 10-12 minutes. Once baked, let rest in pan for 5 minutes. Very soft cookie. Move to a cooling rack. When storing, place between wax paper.

 
nice amount of batter. Very soft, but the do  not spread


I had so many people that were HUGELY surprised with the Flavors
 

Wednesday, September 18, 2013

Oatmeal Raisin Cookies

I had a customer request 3 dozen of my Oatmeal Raisin Cookies. I had not made them in ages. In fact, I asked if he wanted chocolate chips or nuts in them. That sounded kind of good to me. (He said NO).


These cookies were delicious... I know I say that about lots of sweet food products. Heck, I am happy eating Nutella out of the jar.. These cookies were SO good. It is finally getting to be Fall after such a weird weather Summer. Last week, we were back in the 90's. Crazy. Oatmeal Raisin is one of my all time favorites. And not the puck like cookies either. Soft, moist and still a bit chewy. With loads of flavor.

This recipe was originally from Smitten Kitchen. They always do such a wonderful job. These cookies were easy to whip up. Made 40 cookies. Nice size batch. Could have been less if they were bigger. Whatever floats your boat. I always stay with my normal size cookie scoop. They are all the same, uniformity... OCD....

Oatmeal Raisin Cookies
adapted from thetastybiteblog.com

Ingredients
1 cup (2 sticks) butter, softened
1 1/3 cup of brown sugar
2 eggs, room temperature
1 teaspoon vanilla extract
1 1/3 cup of all purpose flour
1 teaspoon baking soda
1 teaspoon cinnamon
1/2 teaspoon salt
3 cups old fashioned oatmeal
1 1/2 cups of raisins
Optional: 1 cup mini chocolate chips and/or 1 cup chopped walnuts

Directions
Preheat oven to 350 degrees. Line a baking sheet with Silpats or parchment paper.

In a separate bowl, whisk together flour, baking soda, cinnamon, and salt. Set aside

In a mixing bowl with a paddle attachment, cream together butter and brown sugar for 5 minutes. Add one egg at a time mixing after each one. Add in vanilla extract and mix. Add the flour mixture to the wet mixture and combine. Fold in Oatmeal and raisins until they are incorporated into the dough.

Using a cookie scoop, place dough on baking sheets about two inches apart. Bake for 9-11 minutes or until edges start to brown.

Allow the cookies to cool for 10 minutes in pan and then transfer to a wire rack to cool completely.


Nice firm batter. Easy to scoop. 


Perfect formed balls... Morsels of Heaven


Sitting on a platter, ready to be eaten


There is the right amount of raisins for every bit.